Create a project
In this chapter, we will show you how to create a project. Before you start creating a project, you should check, if your user account has the role Administrator.
There are two possibilities, how to create a project. You can create it from the projects overview page or from the settings.
Create a project from projects overview page

First you need to click on the button New project in the top right corner. After this the project create dialog opens, where you can create your project.
Create a project from settings
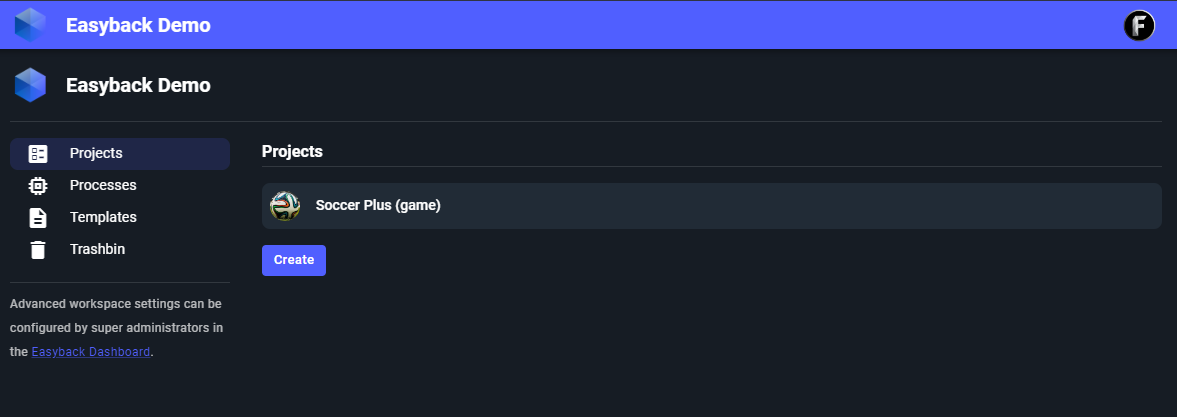
The other possibility to create a project is from the settings. You have to click on the button Create, then the create dialog opens pops up, where you can create your project.
Create project dialog
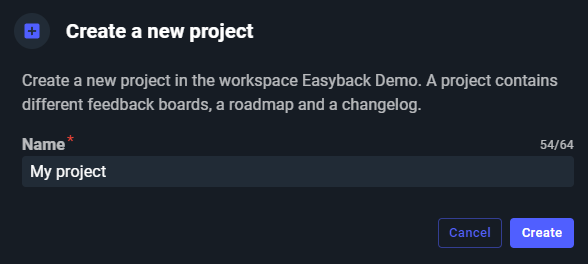
In this dialog you can finally create your project. The project name has two requirements, the name length must be at least 4 characters and the project name must be unique in your workspace.
After writing your desired project name in the name text field and clicking the Create button, the project will be created and you will be redirected to the project overview page where you can manage all the boards of the project and it.